Are you tired of your smartphone photos looking dull and unimpressive? Do you want to take your photography skills to the next level without investing in expensive equipment? You're in the right place. Smartphone photography has come a long way, and with the right tips and tricks, you can capture amazing shots that rival those taken with professional cameras.
In this ultimate guide to smartphone photography tricks, we'll explore various techniques, tools, and apps that can help you elevate your photography game. Whether you're a beginner looking to improve your skills or a seasoned photographer wanting to push the limits of what your smartphone can do, this article is packed with valuable insights to help you capture stunning images with just your phone.
1. Understanding Composition

When it comes to improving smartphone photography, understanding composition techniques such as the rule of thirds, leading lines, and framing can make a significant difference in the quality of your photos. The rule of thirds involves dividing the frame into nine equal sections with two horizontal and two vertical lines, helping you place the main subject off-center for a more balanced and visually appealing image.
Utilizing leading lines can guide the viewer's eyes towards the main subject of the photo, creating depth and adding interest to the composition. Whether it's a path, a fence, or a skyline, incorporating leading lines can enhance the overall impact of your smartphone photos. Additionally, framing your subject within natural elements, architecture, or objects can help draw attention to the main focal point and provide a sense of context or perspective.
For example, imagine capturing a sunset over a beach with the ocean waves forming leading lines towards the sun, positioned using the rule of thirds, and framed by palm trees on the sides. This composition not only creates a visually appealing photograph but also tells a story and evokes emotions in the viewer, showcasing the power of combining composition techniques for smartphone photography.
2. Optimizing Lighting

To enhance your smartphone photography using natural light, position your subject facing towards the light source to create soft, flattering lighting. Adjust your exposure settings by tapping on the brightest part of the image on your phone screen to ensure proper exposure. Utilize HDR mode to capture more detail in high-contrast scenes, such as landscapes with bright skies and dark shadows.
When shooting in harsh sunlight, use reflectors or diffusers to soften the light and reduce harsh shadows on your subject. A white foam board or a simple white bed sheet can be used as a reflector to bounce light back onto the subject's face. Alternatively, a diffuser like a sheer curtain or a piece of translucent fabric can be used to create a soft, even light for portraits or still life photography.
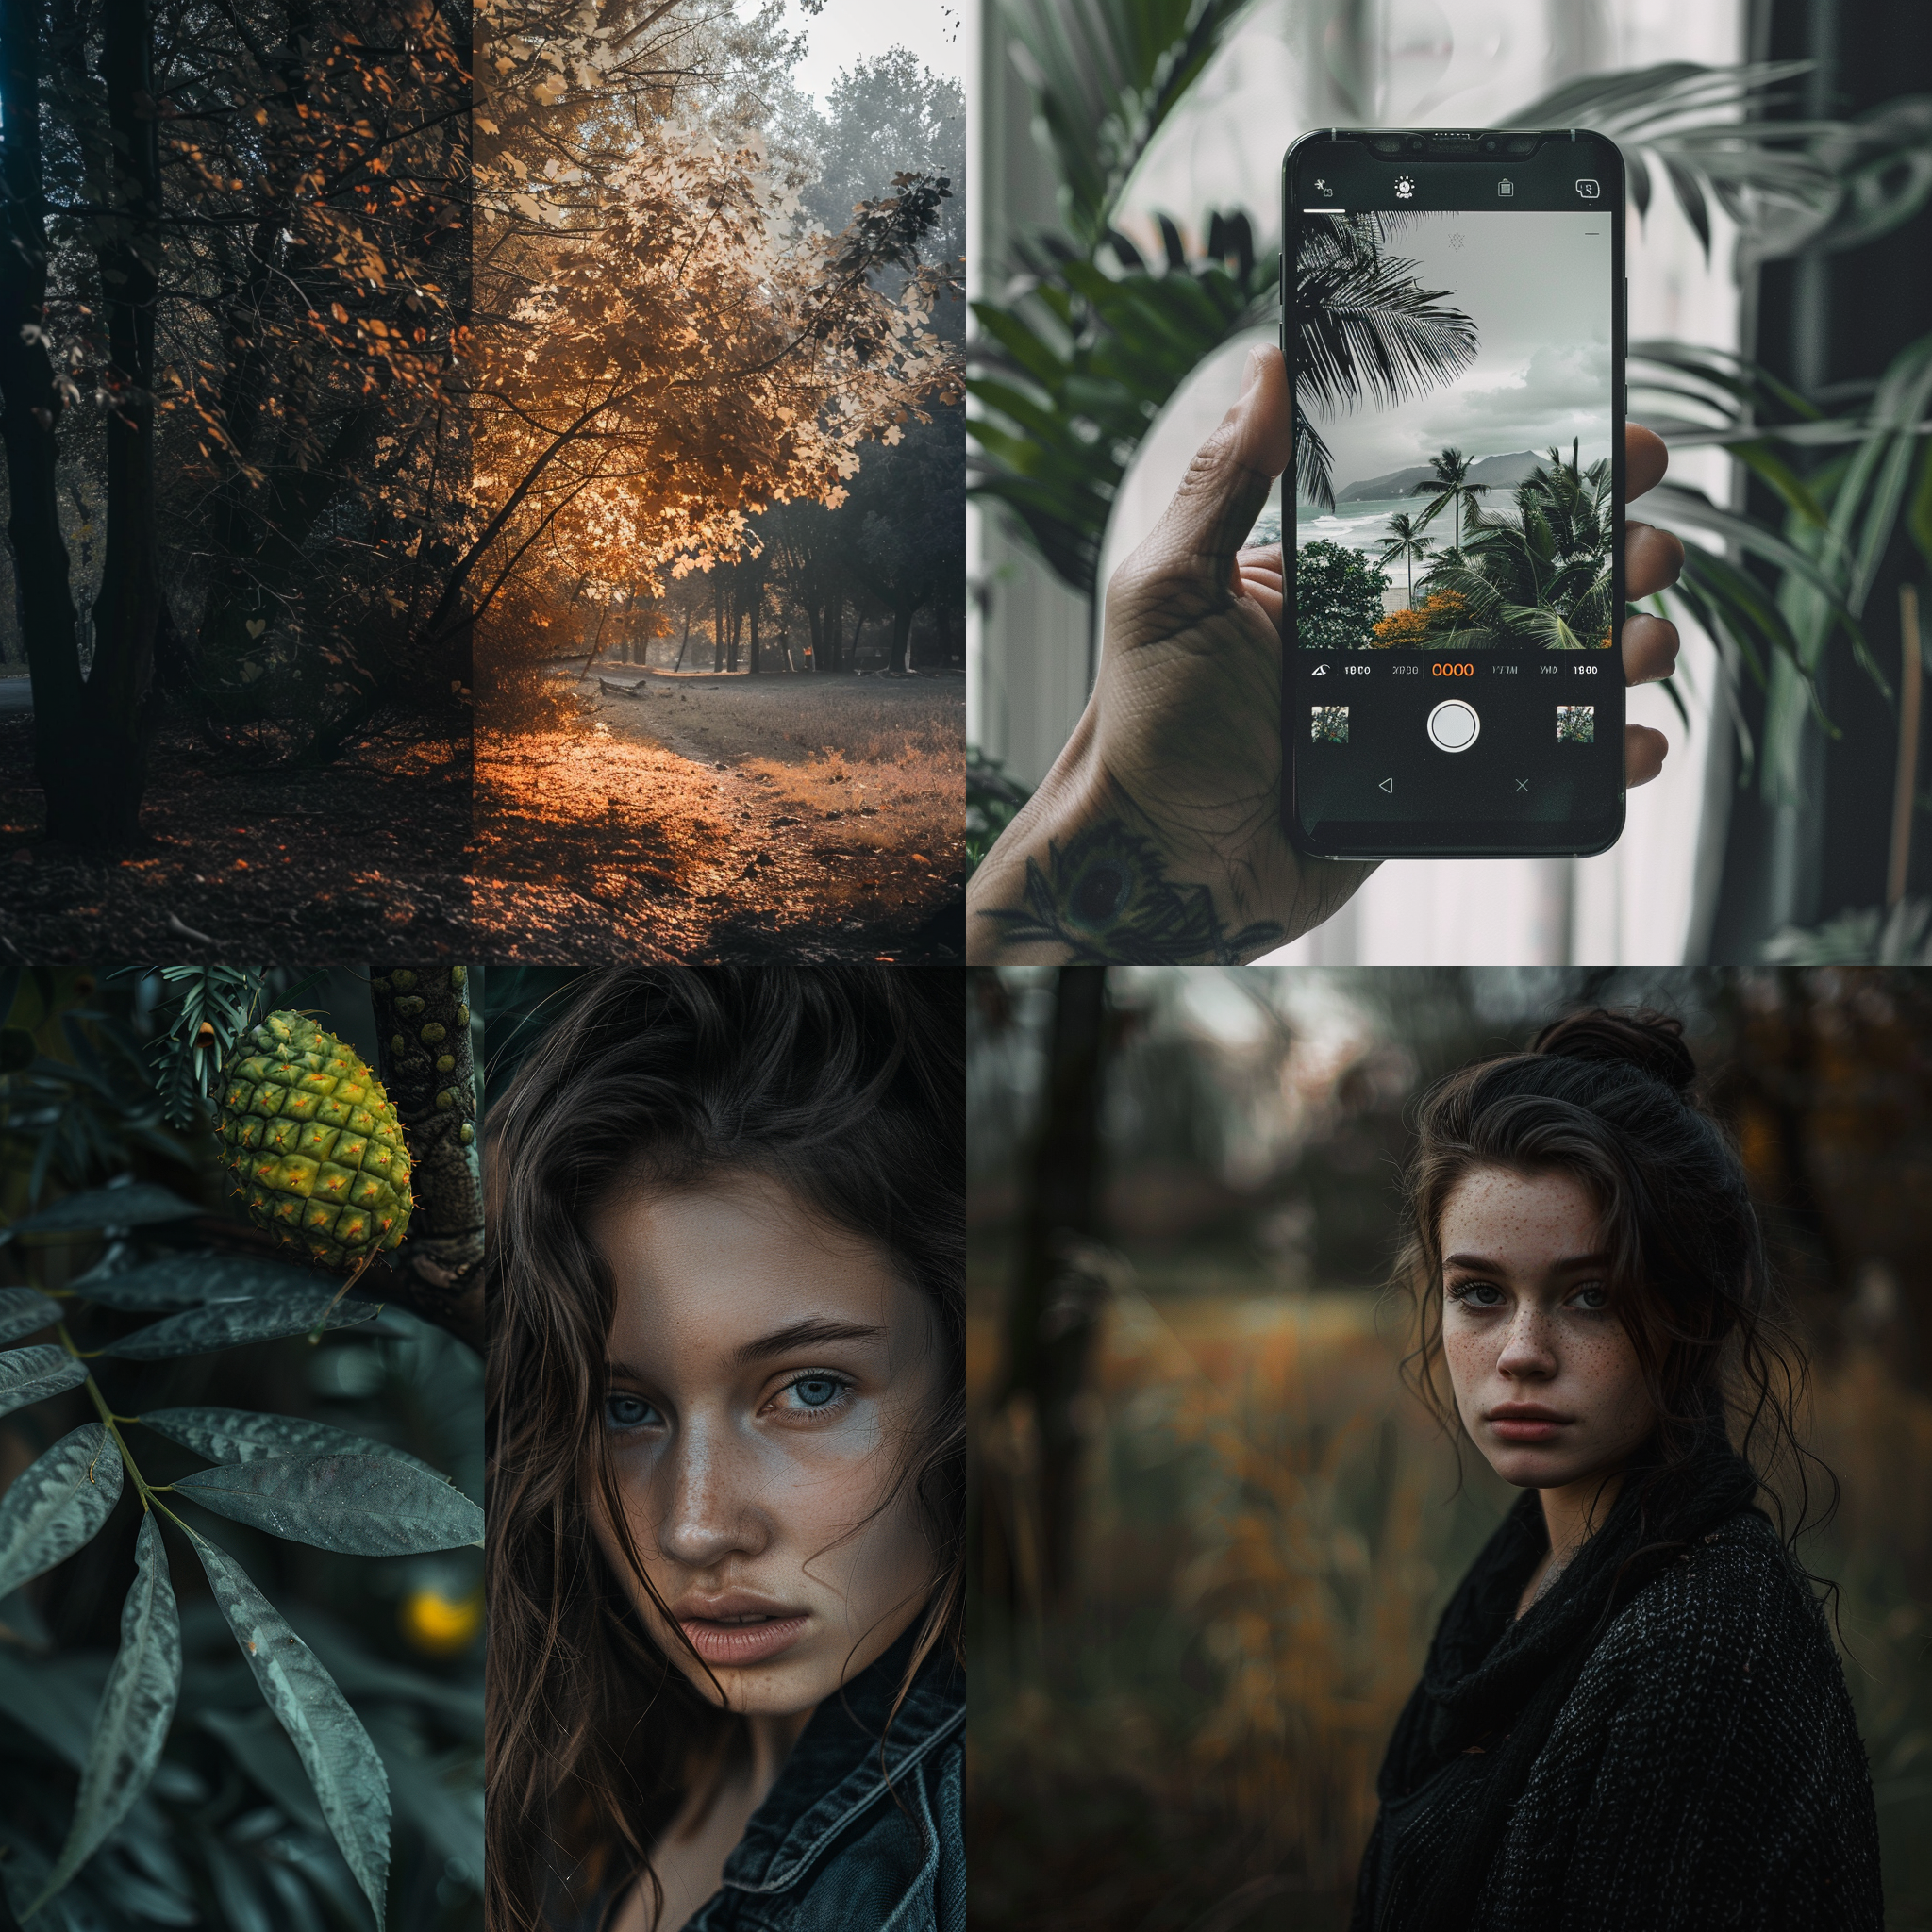
3. Utilizing Depth of Field
To create a shallow depth of field effect, also known as bokeh, on your smartphone, start by adjusting the f-stop or aperture setting if your phone allows manual control. A lower f-stop number, such as f/2.8 or f/1.8, will produce a more pronounced bokeh effect by blurring the background while keeping your subject sharp.
Additionally, getting closer to your subject will help create a shallower depth of field. Using portrait mode or selective focus on your smartphone can also help isolate your subject from the background, enhancing the bokeh effect. Experiment with different lighting conditions to see how they impact the quality of bokeh in your photos.
4. Mastering Portrait Mode
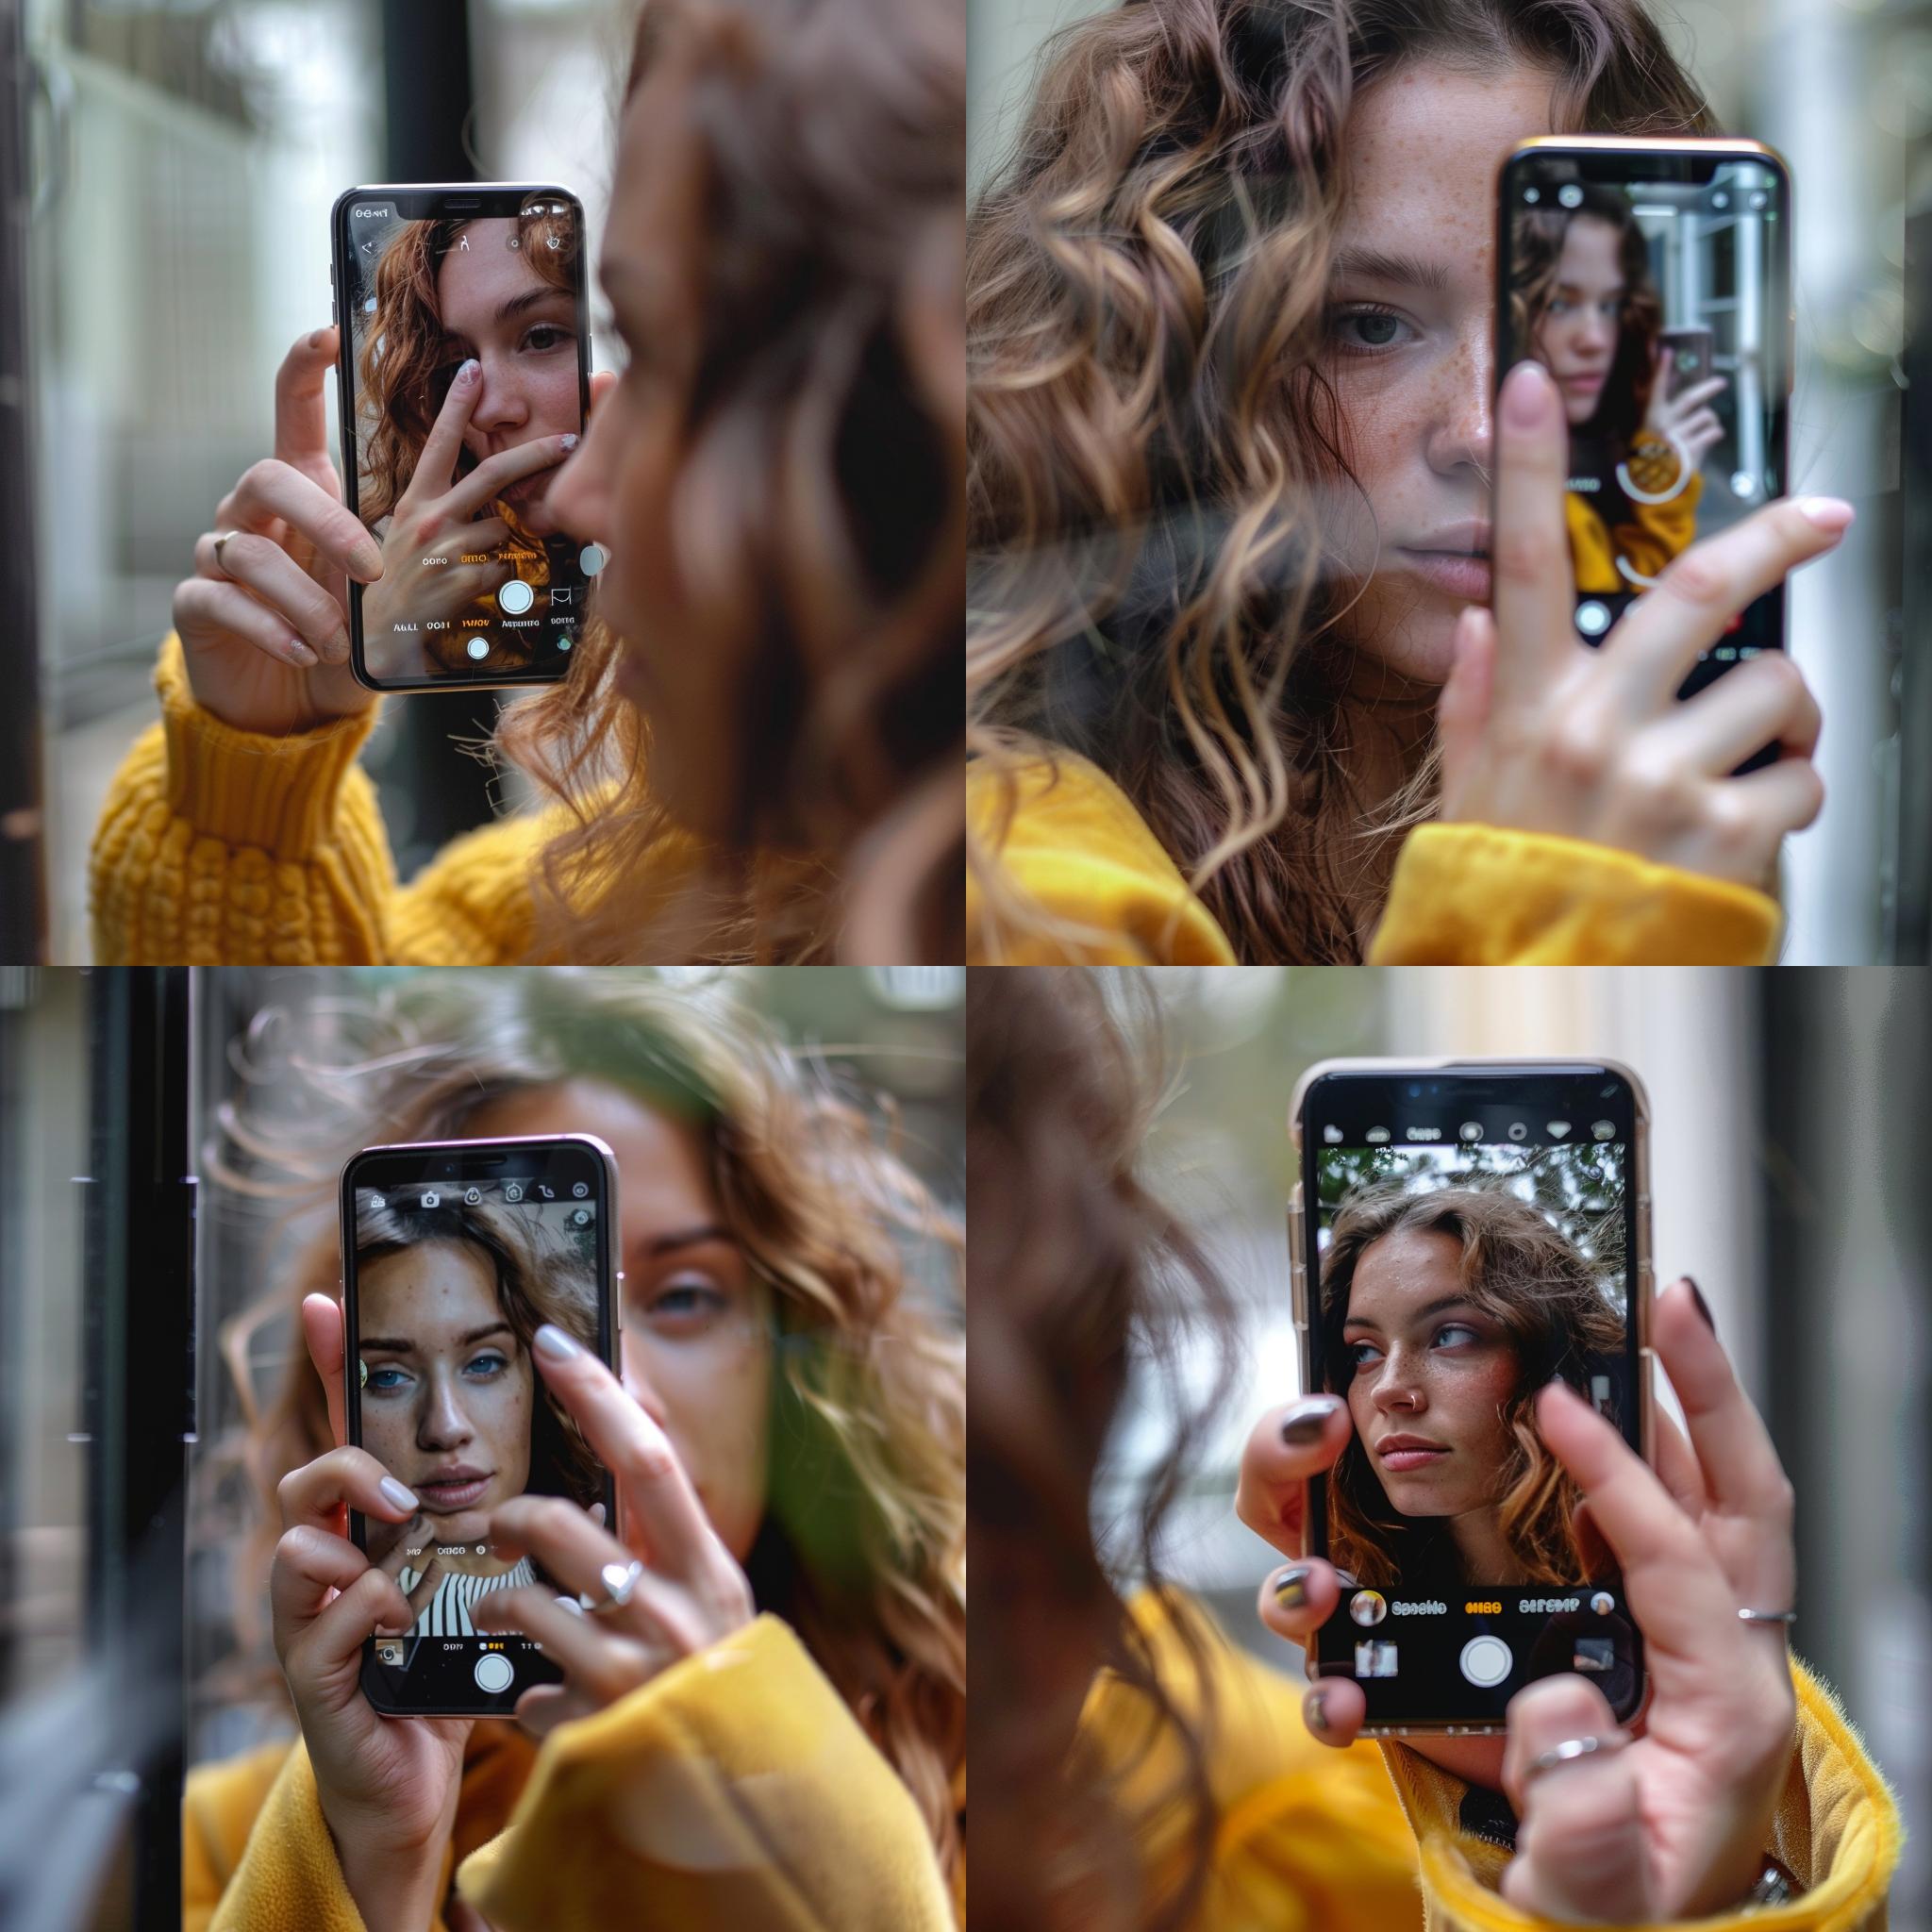
For stunning portraits using portrait mode on smartphones, consider the composition of your shots. Position your subject off-center for a more dynamic look. Utilize the rule of thirds to create balanced and visually appealing images. Experiment with different angles to find the most flattering perspective for your subject. For example, try shooting from slightly above to elongate the neck and create a more flattering angle for facial features.
To achieve a beautiful background blur in portrait mode, ensure your subject is well-separated from the background. This will make the background blur more pronounced, drawing the viewer's focus to the subject. Choose backgrounds with minimal distractions to keep the focus on the subject. For instance, photographing a subject against a plain wall or a field of flowers can create a stunning bokeh effect, enhancing the overall aesthetic of the portrait.
Proper lighting is crucial for capturing striking portraits on smartphones. Utilize natural light whenever possible for a soft, flattering glow on your subject. Avoid harsh overhead lighting that creates unflattering shadows. Consider using a reflector or a diffuser to control the intensity and direction of light. For instance, positioning your subject near a window or in a shaded area can help create a beautifully lit portrait with a soft, even glow.
5. Editing Tips and Apps
When it comes to editing smartphone photos, there are several apps that can help enhance your images. Some recommended editing apps include Adobe Lightroom, Snapseed, VSCO, and Afterlight. These apps offer a range of editing tools such as cropping, color adjustments, and filters to improve the overall look of your photos.
To enhance your smartphone photos through editing, consider cropping them to improve composition and remove distractions. Adjusting colors can help make your images more vibrant and visually appealing. Experimenting with filters can also add a unique touch to your photos, transforming them into works of art.
For example, let's say you have a landscape photo taken with your smartphone that could benefit from some editing. Using a combination of cropping, color adjustments, and filters in an editing app like Snapseed, you can enhance the image by cropping out unnecessary elements, boosting the colors to make the landscape pop, and applying a filter to give it a more dramatic look. The difference in the edited photo can be quite striking compared to the original, showcasing the power of editing tools in improving smartphone photos.
6. Capturing Motion
When capturing motion in smartphone photography, adjusting the shutter speed is crucial. A faster shutter speed freezes action, while a slower speed allows for motion blur. Experiment with different speeds to achieve the desired effect, such as using a fast shutter speed to freeze a moving subject like a running athlete or a slow speed to capture the flowing movement of a waterfall.
Utilizing burst mode is another effective technique for capturing motion. Burst mode allows the camera to take multiple shots in quick succession, ensuring you capture the perfect moment. This is particularly useful for fast-moving subjects like sports events or wildlife photography where timing is crucial. By holding down the shutter button, you increase your chances of getting a sharp, in-focus shot.
Panning is a creative technique that involves moving your smartphone along with a moving subject to create a sense of speed in the photo. To achieve a successful panning shot, set a slower shutter speed and follow the subject with your camera as it moves. This technique can be used in various scenarios, such as photographing cars racing by or a person cycling. The background will blur while the subject remains in focus, giving a dynamic feel to the image.
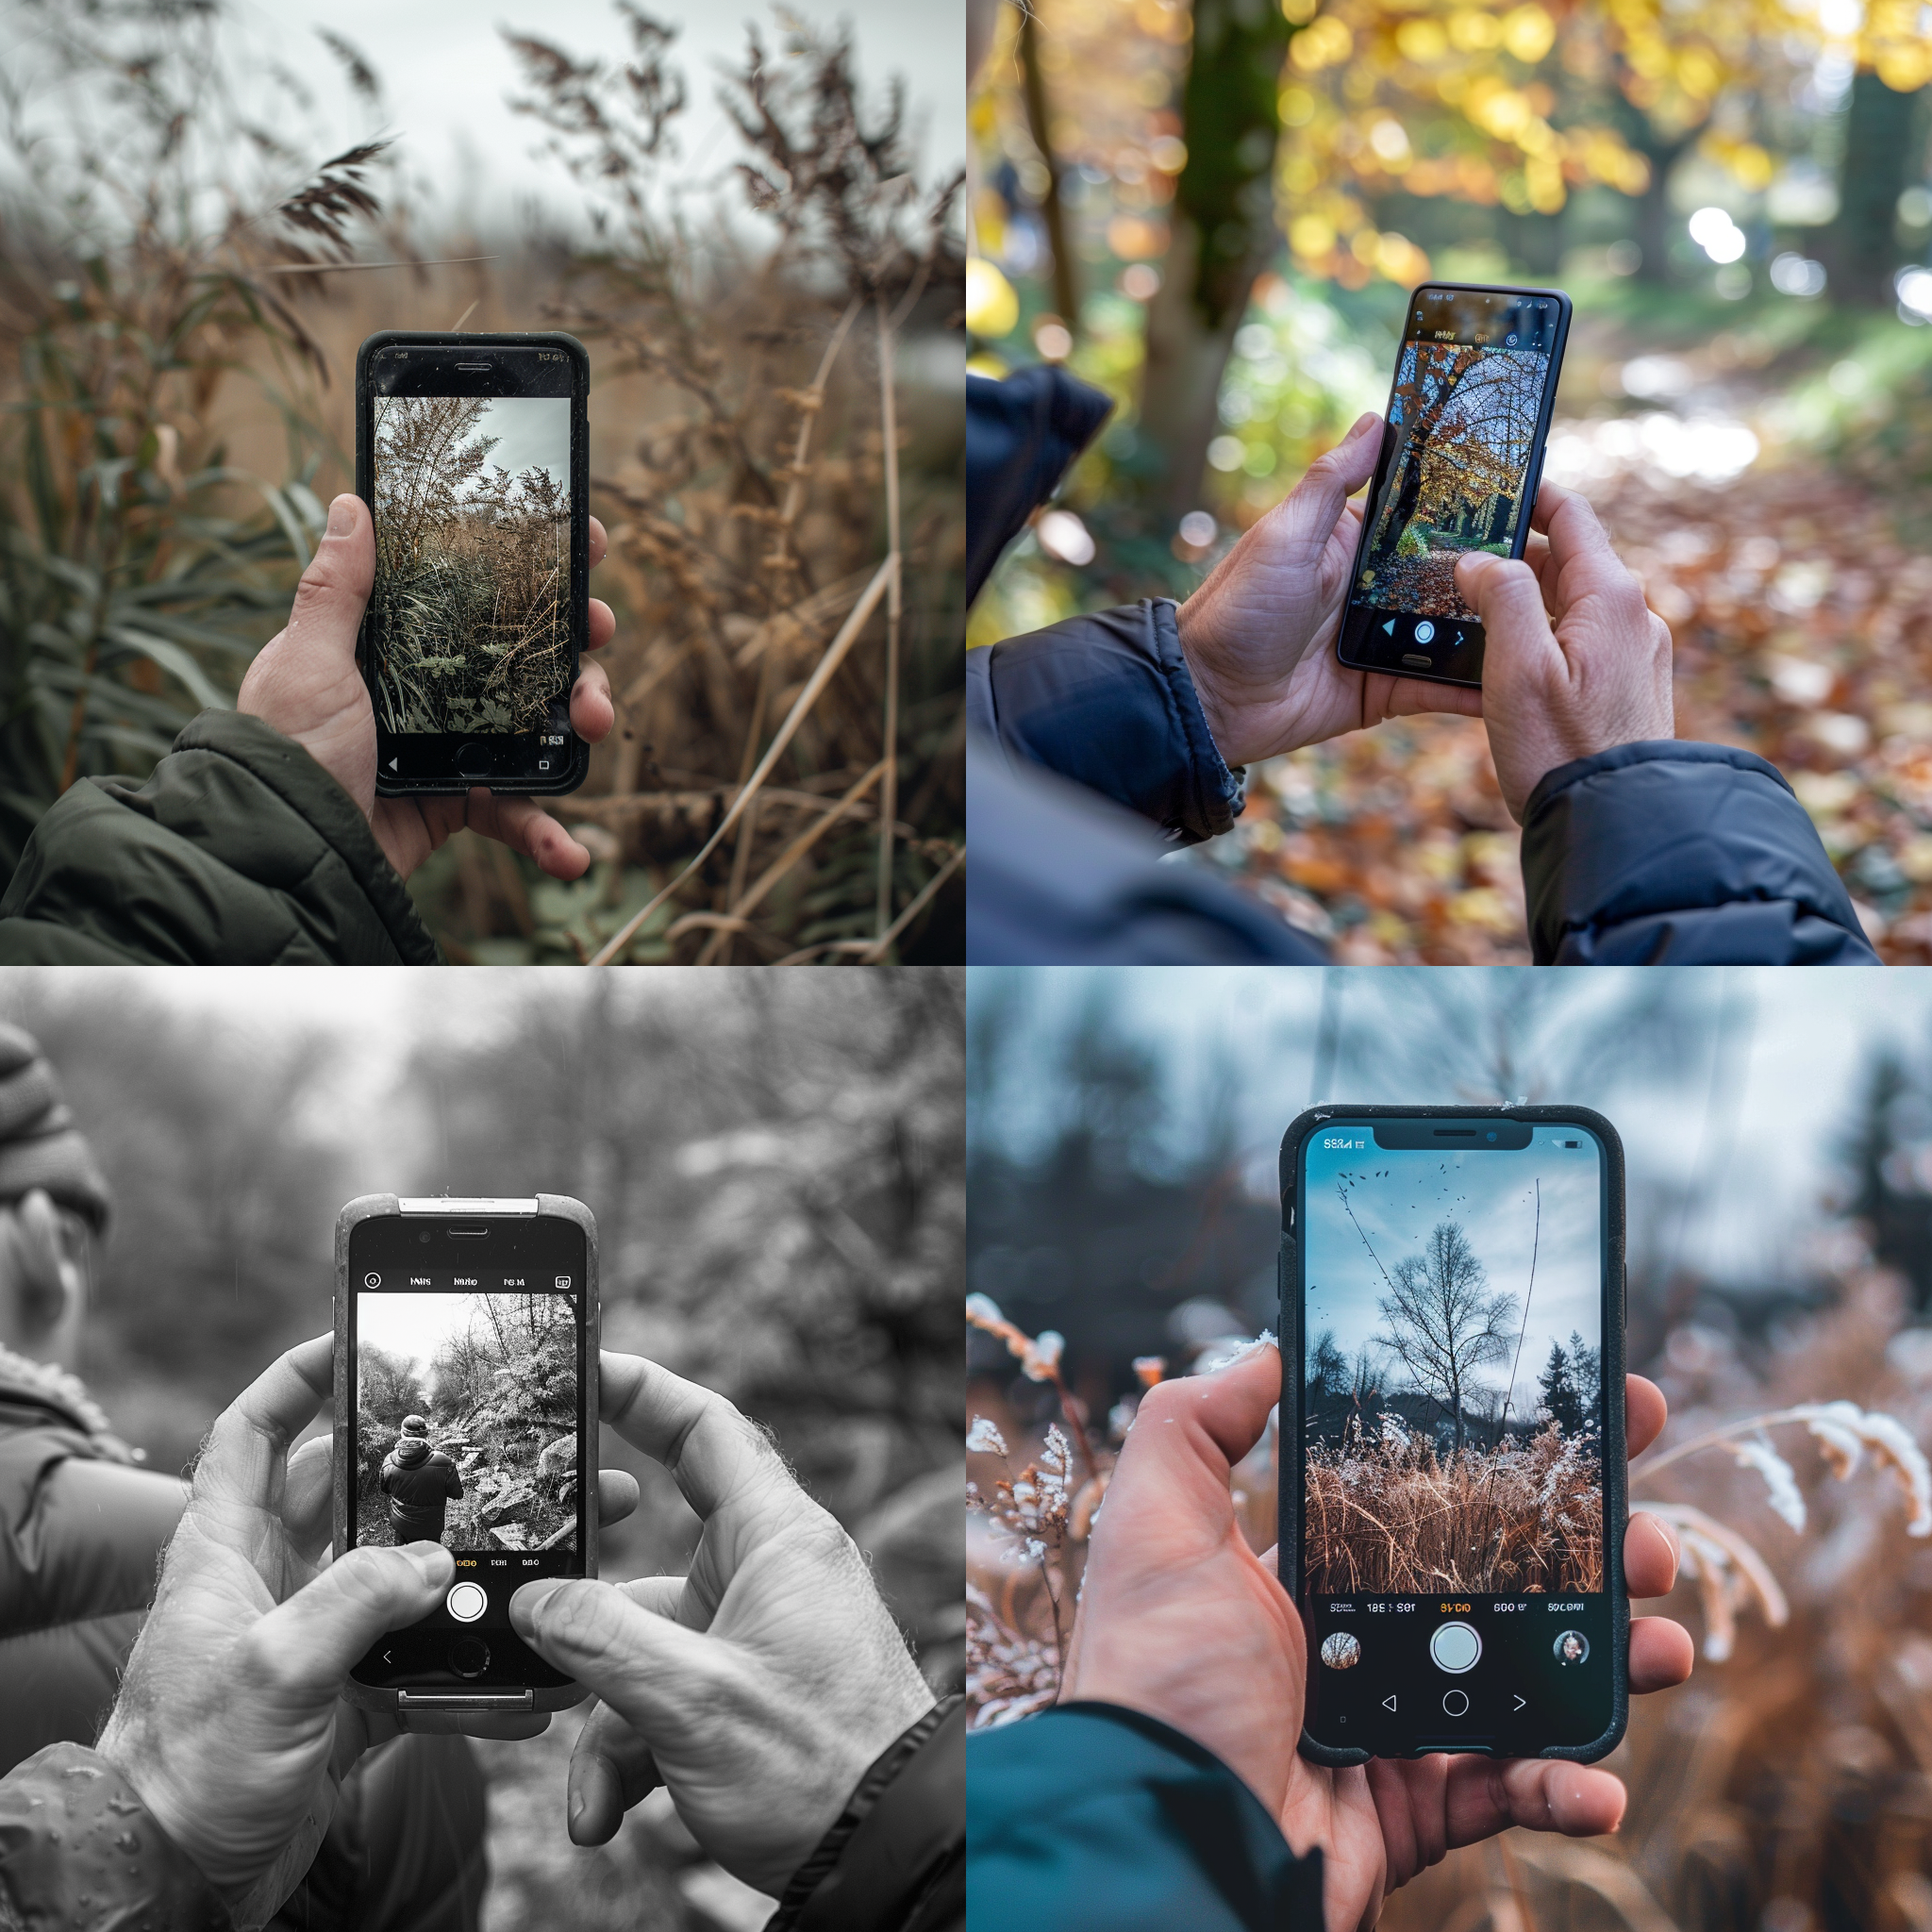
7. Exploring Creative Angles
Unlock the potential of your smartphone camera by exploring various angles and perspectives. Experiment with low angles to capture unique and dynamic shots, or try shooting from above to create interesting compositions. Utilize different framing techniques such as leading lines or the rule of thirds to add depth and visual interest to your photos. Don't be afraid to get up close to your subject or step back for a wider view, as changing your distance can completely transform the look of your photos.
For example, imagine you're taking a photo of a tree. Instead of standing directly in front of it, try crouching down and shooting from below to show the tree towering above you. Or, position yourself above the tree and capture its canopy spreading out below you. By playing with angles and perspectives, you can elevate your smartphone photography and create captivating images that stand out on social media.
8. Utilizing Pro Mode
Many smartphone cameras come equipped with a Pro mode that allows users to manually adjust settings like ISO, shutter speed, white balance, and focus for more control over their shots. To optimize your photography in Pro mode, start by adjusting the ISO to the lowest setting possible to reduce noise in well-lit conditions and increase it in low-light situations to capture more light. Next, adjust the shutter speed to freeze fast-moving subjects or create motion blur effects. Fine-tune the white balance settings to ensure accurate color representation and experiment with manual focus for greater precision.
For example, when shooting a landscape at sunset with a smartphone in Pro mode, you can set a low ISO to maintain image clarity, adjust the shutter speed to capture the movement of the clouds, and tweak white balance to enhance the warm tones of the sunset. By manually adjusting these settings, you can achieve stunning results that showcase your creativity and technical skills as a photographer.